Check out my Etsy store for this item and more!

Wine Glass ( I used an acrylic wine glass in this example)
Optional: Latex Gloves especially if you use glass
Painter’s Tape
Plastic Wrap (Saran Wrap)
Wax Paper
Mod Podge
Foam Brush
Any Color Glitter you prefer (the finer the better)
Acrylic Spray

1. Start with a clean wine glass.
a. If you use a glass wine glass, you may consider wearing latex gloves to avoid getting fingerprints on the glass.
a. If you use a glass wine glass, you may consider wearing latex gloves to avoid getting fingerprints on the glass.
2. Use about 1-2 inches of painter’s tape at a time to wrap around the glass until you have overlapped the first piece of tape and the last piece of tape. Note that the bottom of the tape is where your glitter section will start. Make the bottom line as straight as possible. Use your fingernail to smooth the tape down securely.


a. It is better to pour a small amount and need more than to pour a large amount and not use it all.


a. Do not worry about using too much glitter (see step 8)


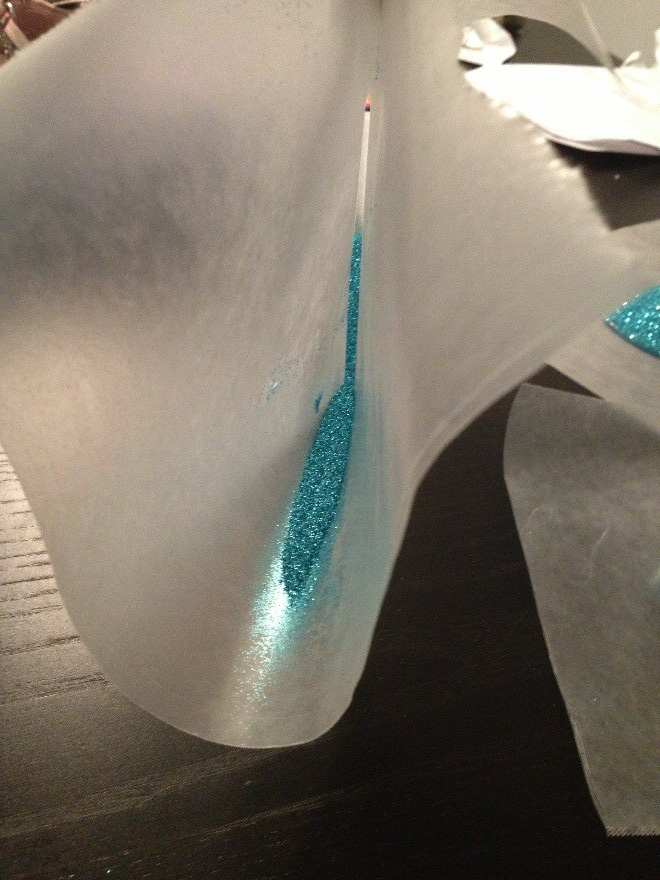

10. If you are satisfied with the wine glass, let it dry 1-2 hours. Skip steps 11-13 and start on number 14. However, I like to use two small coats of glitter to really make sure all areas of my glass are covered. You can see in the picture below that there are a few areas that are transparent by holding it up to the light.


14. Once your wine glass has dried, grab your wine glass and acrylic spray and head outside for this next part. Hold the glass away from you and carefully spray the entirety of glitter with the acrylic spray. Follow the directions on your acrylic spray bottle, and do two coats if you really want that glitter to stick. However, I usually complete this step at night so I can leave my wine glass outside overnight to get rid of the smell of the acrylic spray.

15. Once your wine glass has dried, take off the plastic wrap.


17. Once you have removed the painter’s tape, your glass is good to go! See the tips below for anything that was not covered. Also, leave any comments, questions, or feedback you may have!

1. If your top line of the glitter is not straight, try adding some trim to it. Elastic trim has been the most helpful in the past because a little stretch to “straighten” the line is not too obvious.
2. Most people will use these at night and most likely will not hold it up to the sunlight to see through it. If you missed a couple of spots, don’t be too hard on yourself. Most likely no one will notice.
3. Do not drink out of this glass until the strong odor of the acrylic spray is gone. That smell will ruin any type of drink you use in the wine glass.
4. To clean the plastic glass:
a. Use the smallest amount of rubbing alcohol on a Q-Tip to remove any glue you may see. Do NOT use a lot of rubbing alcohol because it will dry out the plastic and start to crack the glass.
b. After using rubbing alcohol, you may notice some “cloudiness” to your glass. Get a small container of soap and water. Wrap a paper towel around your finger and dip it in the soapy water. Carefully buffer the glass. After your glass is clean, dip the paper towel in regular water, remove any soapiness and dry the glass. Buffer with a lint free cloth once you are finished.
5. Continue to check back for more tutorials!
Hello! I followed all your steps and my glitter looks matte.. any suggestions on how to fix? TIA
ReplyDeleteCould be a couple things! Check the type of spray you’re using for the finish. Also, make sure the first layer dries. You may be able to fix by creating another layer with the modge podge and glitter and then spray with the Crystal Clear acrylic. Sorry for the delayed response, but if you still have the cup, let me know if that works! Best of luck!
DeleteHello! I followed all your steps and my glitter looks matte.. any suggestions on how to fix? TIA
ReplyDeleteHow many coats did you do of the mod podge?
ReplyDeleteI used 2 - you could probably do three, but 2 covered it pretty well.
DeleteI noticed comments on the glitter looking matte. I have not tried this project but on others, you have to make sure you're using Krylon Crystal Clear. If it only says Clear, it can cause the glitter to fog or look matte.
ReplyDeleteYes! Great point! It has been a few years since I made this - but I remember seeing the difference between both.
DeleteHello. I used the Krylon Crystal Clear but I can still feel the glitter. Is there a sealer I can use that will give it a smoother finish?
ReplyDeletewill these stand up to normal hand washing?
ReplyDeletecan you oven bake these to set glue?
ReplyDeleteq979p6eznvu528 glass dildos,vibrators,couples sexy toys,sex doll,sex chair,dildo,adult sex toys,horse dildo,dildo z046j7tknux834
ReplyDeletefj954 cheap jerseys,cheap nfl jerseys,nfl shop,nfl shop,jordans shoes,wholesale nfl jerseys,nfl jerseys,nfl shop,wholesale jerseys yl830
ReplyDelete